Choosing the Right Pot for Lavender: Lavender Plant In Pot
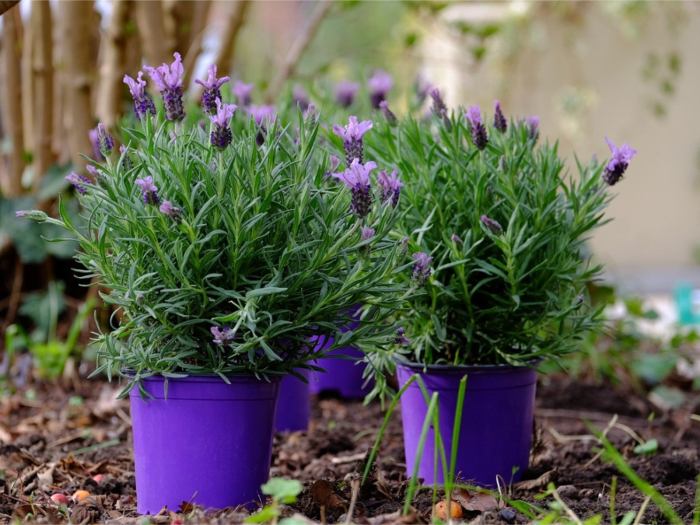
Lavender plant in pot – Choosing the right pot is crucial for happy, healthy lavender! Just like choosing the perfect outfit, the right pot ensures your lavender thrives and looks absolutely stunning. A well-chosen pot provides the perfect environment for your lavender’s roots to grow and flourish, preventing waterlogging and promoting good air circulation. Think of it as giving your lavender the best possible home!
The ideal pot size and material significantly impact lavender’s growth and overall health. A pot that’s too small restricts root development, leading to stunted growth, while one that’s too large can retain too much moisture, causing root rot. The material of the pot also plays a vital role in moisture regulation and aeration. Let’s explore the best options for your lavender friend!
Pot Size and Material for a Single Lavender Plant
For a single lavender plant, a pot with a diameter of around 12-15 inches and a depth of at least 10 inches is generally recommended. This size provides ample space for root growth without becoming excessively large and retaining too much water. The pot should be proportionally deep to allow for sufficient root development. Remember, a healthy root system is the foundation for a healthy plant! Using a smaller pot initially, then repotting as the plant grows is also a viable option, especially if you start with a small lavender cutting.
Comparison of Terracotta, Plastic, and Ceramic Pots
The choice of pot material significantly influences how well your lavender thrives. Each material has its own set of advantages and disadvantages:
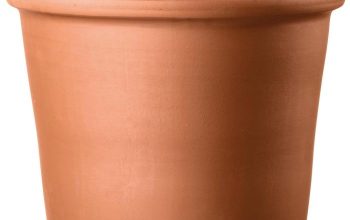
- Terracotta Pots:
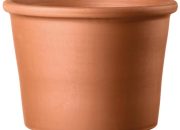
- Advantages: Excellent drainage due to their porous nature; allows for good air circulation around the roots; helps prevent overwatering.
- Disadvantages: Can dry out quickly, requiring more frequent watering; more prone to cracking in extreme temperatures; can be heavier than plastic pots.
- Plastic Pots:
- Advantages: Lightweight and easy to move; retain moisture longer, reducing the frequency of watering; less expensive than terracotta or ceramic pots; come in a wide variety of sizes and colors.
- Disadvantages: Can retain too much moisture if not properly drained; may not allow for sufficient air circulation around the roots; can become brittle over time with exposure to sun and temperature changes.
- Ceramic Pots:
- Advantages: Elegant and aesthetically pleasing; retain moisture better than terracotta pots; often come in a variety of designs and glazes.
- Disadvantages: Can be expensive; can be heavy; may not have optimal drainage unless specifically designed for it; can crack under extreme temperatures.
Importance of Drainage Holes and Drainage Improvement
Adequate drainage is paramount for lavender’s survival. Lavender hates wet feet! Standing water leads to root rot, a fatal condition. All pots used for lavender
A lavender plant in a pot offers a calming presence, its delicate purple blooms a soothing contrast to vibrant decor. For a more eclectic approach, consider pairing it with a fun, quirky planter like the hippie face plant pot ; the juxtaposition creates an interesting visual dynamic. Ultimately, the lavender plant in pot remains the star, its fragrance and beauty enhanced by a thoughtful container choice.
must* have drainage holes in the bottom. If your pot lacks sufficient drainage, you can improve it by
- Adding a layer of gravel or broken pottery shards at the bottom of the pot before adding potting mix. This creates a drainage layer and improves air circulation.
- Using a well-draining potting mix specifically formulated for herbs or succulents. Avoid using heavy clay-based soils.
- If repotting is an option, choose a pot with adequate drainage holes.
Planting and Caring for Lavender in Pots
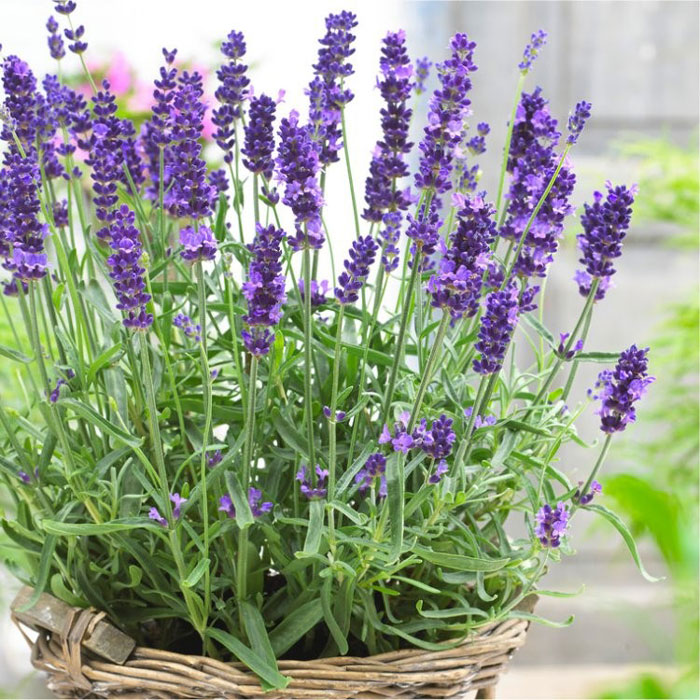
Planting and caring for potted lavender is a delightful journey, a fragrant adventure that brings a touch of the Mediterranean to your home. With a little care and attention, you can enjoy the beauty and aroma of lavender for years to come. Remember, a happy lavender plant is a healthy and fragrant one! Let’s get started!
Planting Lavender in Pots
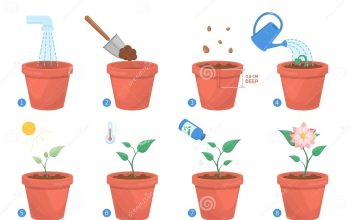
Choosing the right pot is only half the battle; planting your lavender correctly is equally important for its thriving. Begin by preparing a well-draining potting mix. A blend of high-quality potting soil and perlite or coarse sand ensures excellent drainage, preventing root rot, a common problem for potted lavender. Gently remove your lavender plant from its nursery pot, taking care not to damage the roots.
Place it in the prepared pot, ensuring the top of the root ball is level with the soil surface. Fill in around the root ball with the potting mix, gently firming it to eliminate air pockets. Water thoroughly after planting, allowing excess water to drain freely. Finally, choose a sunny spot for your lavender; at least six hours of direct sunlight per day is ideal.
Watering Potted Lavender
Watering lavender is a delicate balance. Overwatering leads to root rot, while underwatering causes wilting and stress. The key is to water deeply but infrequently, allowing the soil to dry out slightly between waterings. Check the soil moisture by inserting your finger about an inch into the soil. If it feels dry, it’s time to water.
Signs of underwatering include dry, brittle leaves and wilting. Overwatering, on the other hand, manifests as yellowing leaves and a soggy soil that smells foul. For optimal watering, consider using a pot with drainage holes and a saucer to collect excess water.
Monthly Lavender Care Schedule, Lavender plant in pot
A monthly care routine ensures your lavender remains healthy and vibrant. Here’s a simple schedule to follow:
- First Week of the Month: Check for pests and diseases. Look for signs of aphids, spider mites, or fungal infections. Treat promptly with appropriate organic pesticides or fungicides if necessary. Imagine tiny green aphids sucking the life out of your precious lavender – a quick spray will save the day!
- Second Week of the Month: Assess the need for fertilization. During the growing season (spring and summer), feed your lavender with a balanced liquid fertilizer diluted to half strength every two to three weeks. Avoid over-fertilizing, as this can lead to leggy growth.
- Third Week of the Month: Check soil moisture and water as needed. Remember the finger test!
- Fourth Week of the Month: Prune your lavender. Regular pruning encourages bushier growth and prevents the plant from becoming leggy. Remove any dead or damaged stems and lightly trim the tips of the branches. Think of it as a lavender haircut, keeping it neat and tidy!
Remember, these are guidelines. Adjust your care schedule based on your specific climate and your lavender’s needs. Consistent attention will reward you with a beautiful and fragrant lavender plant that brightens your day!
General Inquiries
Can I grow lavender in a hanging basket?
Yes, hanging baskets work well, but ensure excellent drainage to prevent root rot.
How often should I fertilize my potted lavender?
Feed lightly once a month during the growing season with a balanced, slow-release fertilizer.
What are the signs of lavender needing repotting?
Roots circling the base of the pot or slow growth are signs it needs a larger container.
Can I propagate lavender from cuttings?
Yes, take stem cuttings in spring or summer, dip in rooting hormone, and plant in moist potting mix.
How do I overwinter potted lavender?
Move pots to a sheltered location or bring them indoors to a cool, bright spot during freezing temperatures.

